hyper-v虚拟机安装了centos7之后并不能上网,有些测试就无法继续进行,接下来就需要进行一些配置。
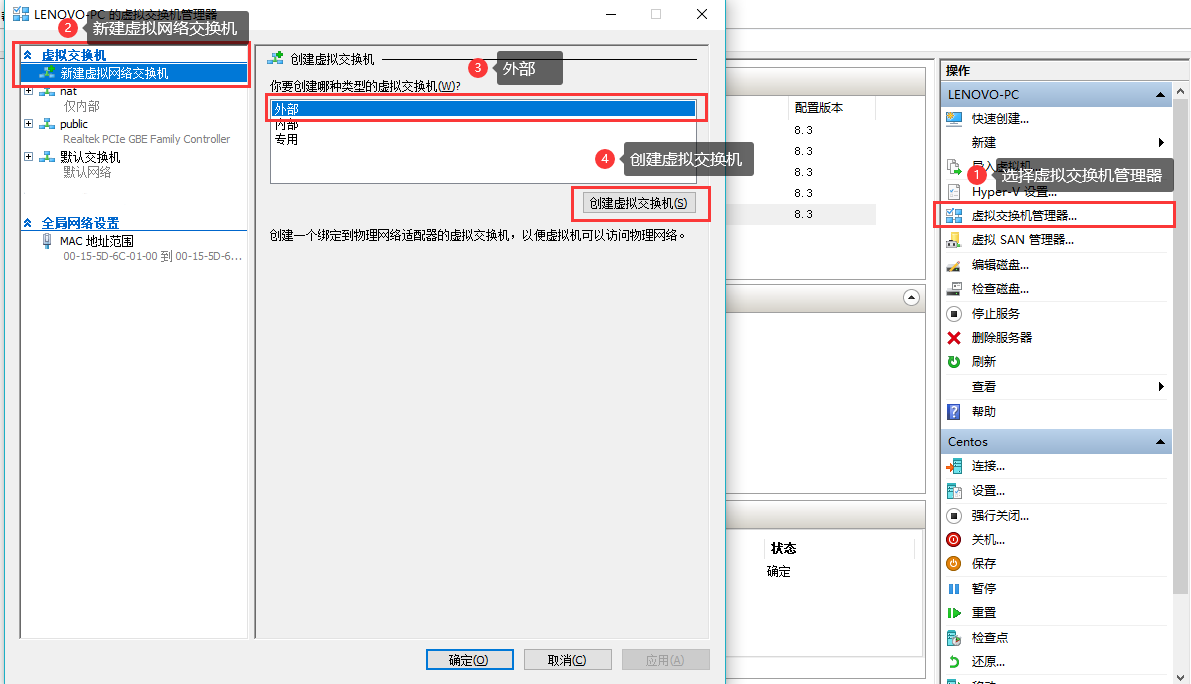
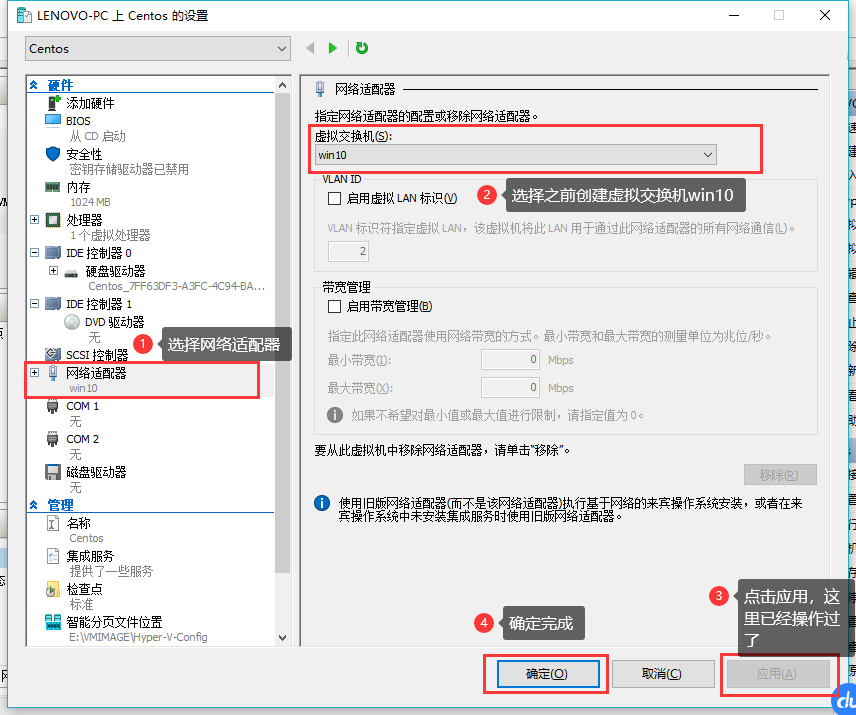
新建虚拟交换机
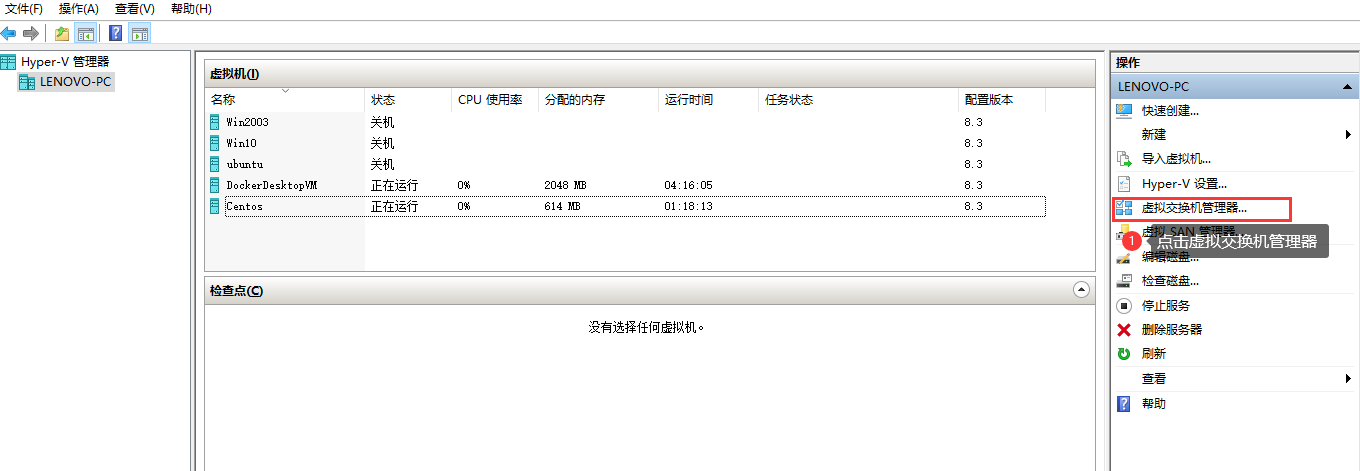
下图紧接着2、3、4步。
设置名称并设置连接类型。
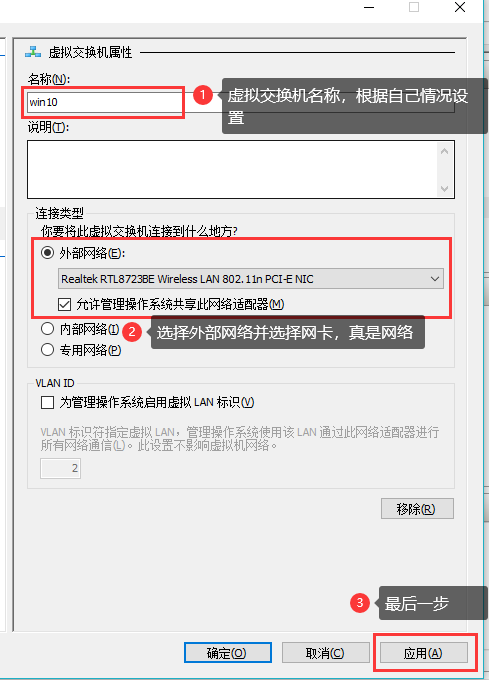
设置网络适配器。
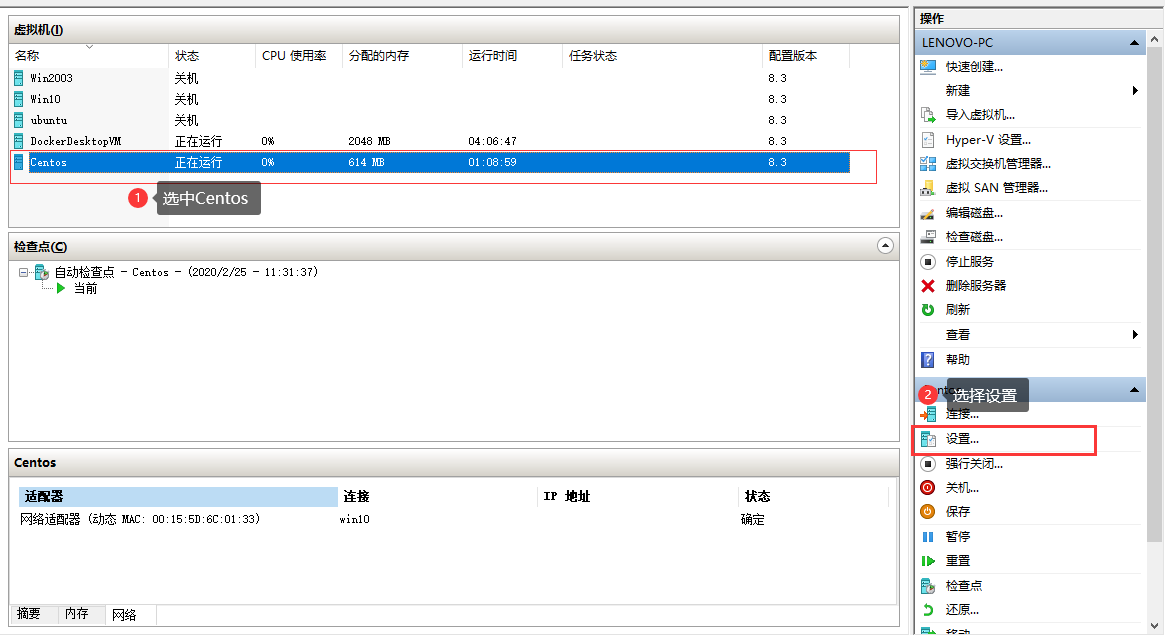
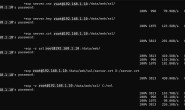
启动虚拟机系统Centos并登录, 进入到network-scripts目录 。
cd /etc/sysconfig/network-scripts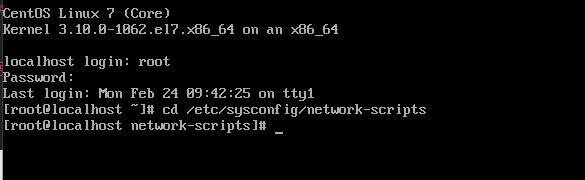
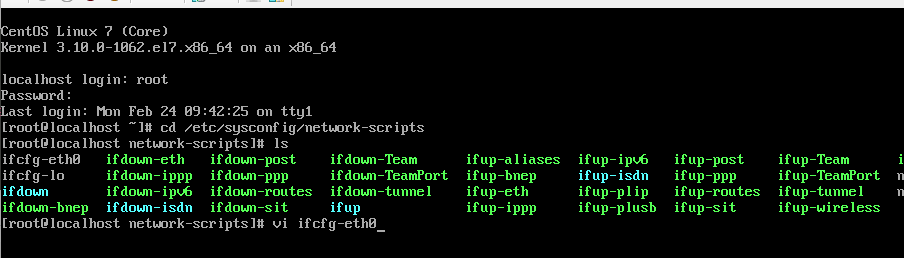
vi ifcfg-eth0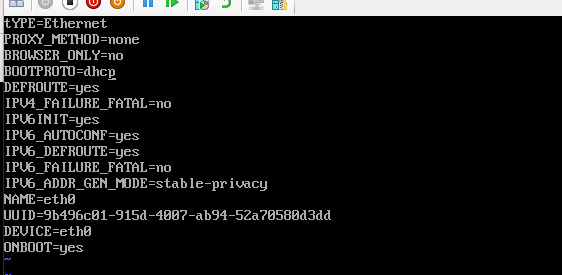
将ONBOOT=no改为 ONBOOT=yes保存后重启网络。
systemctl restart network
转载请注明:清风亦平凡 » hyper-v虚拟机安装Linux Centos 7 网络配置
 支付宝扫码打赏
 微信打赏
微信打赏